Showing posts with label Quilt Along. Show all posts

Saturday, July 1, 2023

July's Block Santa's Journey BOM


Happy July! Summer has arrived and its vacation season! So, this month's block will look very familiar to April's block. You will be making four Multi green tree blocks. I thought with the arrival of summer it would be nice to have an easy block to work on this month that would go together quickly. It's going to be a busy weekend; baby girl is getting baptized. I'm looking forward to some family time. We have no big plans for the 4th of July. I'll probably do a little grilling and watch fireworks on TV. Big perk, no mosquitoes! I'll be consoling dogs while the neighborhood kids shoot off fireworks that night. Our dogs go crazy and run from window to window barking away.

This month's block is a multi-green tree. We will make 4 total, alternating the light and dark greens. There will be optional embellishments offered towards the end of the year, you'll want to quilt your quilt first before decorating your trees. 
Make sure to download a copy of the pattern for February and gather your fabric.


NOTE: From the green fabric you will cut a larger block and then cut it in half diagonally twice, to form 4
(label E) You may have E triangles left over from when you did April's trees.

Following the pattern, cut all of your pieces out as shown.

NOTE: Sew a 2" blue square to the rectangle green strip right sides together on the diagonal as shown. 


Following the block layout, lay out all of the pieces of the tree block. Follow the layout picture, stitch the block together using a scant 1/4" seam. Sew the 'rows' together using a 1/4" seam. Iron. Block should measure 8 1/2" x 8 1/2". You will make two dark green multi green blocks, and 2 light green multi green tree blocks.

  ~ Large Multi Green Tree Block Make 2 of each color combo~ 


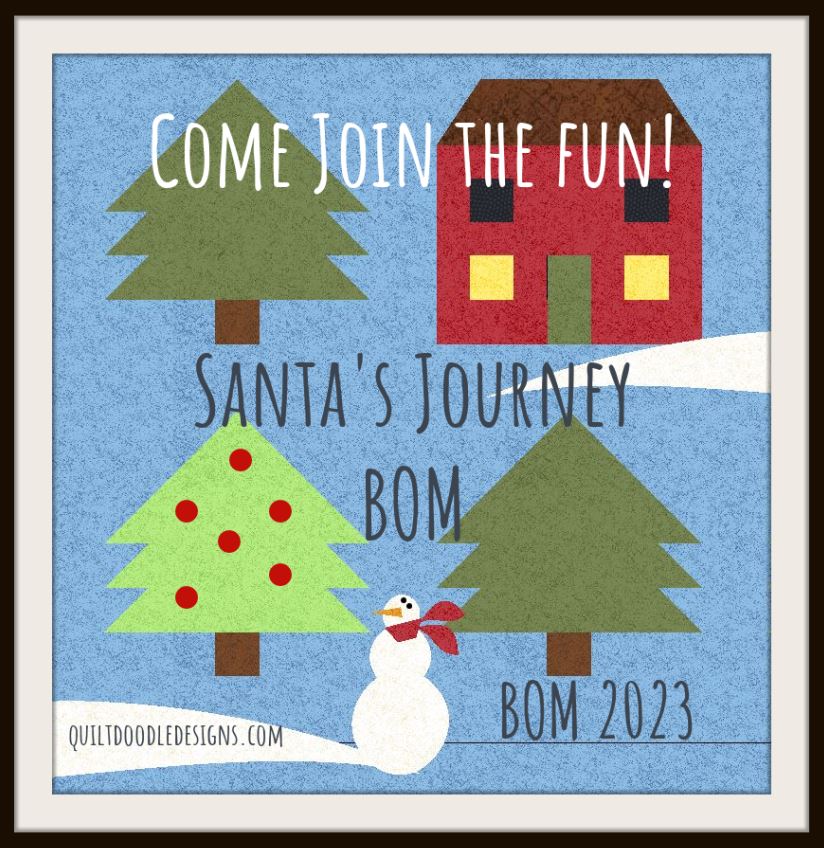
 Help spread the word and tell all your quilting friends about this fun wintery block of the month! Each month we will work on a new section of this mystery quilt. There's basic piecing, some applique and other fun embellishments. As always, the monthly directions will be free during that month and then available for a small fee after that.
Finished measurements of the 2023 BOM quilt is 60" x 70"

Grab the button and link it to the Quilt Doodle Blog and help spread the word! 

I will be doing two versions of this quilt as we sew along. The blue version and then a white one. It will be the same pattern just a different background. Make sure to download the PDF directions on the website. Grab your fabric and start sewing!

 Each month's pattern is a free PDF instant download. If you miss a month, the patterns are available for $2.50 on my website and also in my Etsy shop.  


If you don't have a printer, you can purchase a PRINTED copy of the monthly patterns.

 There's also a Facebook Group, please join and post your progress! It's also fun to see everyone else progress too! Make sure to post your blocks so far! 

I have also been posting time lapse videos on my Instagram feed on how to stitch the blocks together. @quiltdoodledesigns. I hope that you all have a wonderful day and find some time to do some stitching! Wishing you a wonderful 4th of July and hope that have a wonderful weekend.

Happy quilting,
Cindy and Josephine


Wednesday, July 1, 2020

July's Block

Welcome July! I feel like summer is getting away from me. July always flies by quickly for me. It's a busy month, we have a lot on the calendar to make the month fly by... 4th of July, our anniversary, a trip to the cabin and then the day to day shenanigans to fill in between. Although the 4th will be a little quieter then usual, we still plan on celebrating with a picnic and fireworks in our own backyard. 

This month's block is based on the classic Ohio Star block. You will need three different fabrics. My block below shows three different reds. You can use different colors, A dark, medium and light toned fabric. It's up to you! Make the quilt your own. I'm looking forward to seeing everyone's variations of the same block. Remember to pop over to the Quilt Doodle Website to download your July directions for this month's block. You will find all of the cutting directions there.


You will make four Ohio Star blocks....

For each Ohio Star block you will need 4 of the triangle square blocks.


And then sew the four Ohio Star blocks together to  make one large 20 1/2 " x 20 1/2 " block.

 I hope you have fun making this month's block.  Remember the goal is to use fabric from your stash!

The monthly FREE pattern is available on my website. I have a special 2020 BOM section on my website. Each month the FREE pattern will be posted. But as soon as the new section or block is out the old block pattern will no longer be a freebie. But it will still be available for a small fee on my website or in my Etsy shop. If you want to share your finished blocks, feel free to post them on Facebook Group (Quilt Doodle Designs Grandmas Attic BOM 2020) and tag me or post them on Instagram tag Quilt Doodle Designs. I love to see everyone's progress as we stitch along together. 

Well, I'm off to go and check on the gardens. We've had so much rain here over the last few days. (7" last Sunday night) My poor plants are drowning, I'm hoping on a couple of hot dry days to dry the ground up a bit. The dahlia bulbs I planted last month are all up and thriving, I'm looking forward to when they bloom. The rain knocked all my zinnias and sunflowers over. I'm going to see if I'm able to stake them up so they can stand tall again. Then I'm going to hide out in my sewing room and get some stitching done!


Happy quilting! 
Cindy and Belvedere


Saturday, April 14, 2018

Minnesota Winter Wonderland - April

I am so thrilled that April is here! I am so tired of snow and cold weather. At least we are getting glimpses that spring is right around the corner. The days are getting longer and it's no longer dark when I let Belvedere out in the morning. I am usually greeted with a beautiful sunrise as I drink my morning cup of coffee, spring is almost here. I just have to look a little harder to find it.
Onto this section of the quilt... it's a strip or row of stars. It's quick and easy to do. I did not do mine scrappy but you certainly can make yours scrappy if you want to. The fun thing about this quilt is you can choose to do it scrappy or not scrappy, I'm doing a little of both. This month block is called 'Sparkling Stars'. A cozy cabin needs sparkling stars to light the winter sky.  One thing to keep in mind is to do the background the same or similar fabrics as you did for your Cozy Cabin block. This will also be true with the blocks for May and September. You want this section of the quilt to be somewhat consistent with the background colors. When these sections are pieced together it makes one big row.

My pieces are cut and and ready to sew...
My triangle squares are all ready to be ironed. Remember I am pairing together
2 1/2" squares and sewing corner to corner to make my triangle squares. I know
there's a little bit of waste, but I find this a quick and easy method since this quilt
is based on 2 1/2" squares and strips.
My blocks pieces are all lined up by my machine, it's time to
sew my stars together!
Next I will sew my stars together to form a row, placing 2 1/2" strips in between each block.


April's  Row
'Sparkling Stars'
Layout so far...

 If you blog about it, please email me a link so that I can attach it to the Pinterest Board I have going for the Minnesota Winter Wonderland QAL. I hope you have fun with this section of the  quilt. It can easily be done in an afternoon. I'm looking forward to seeing everyone's stars! You can post pictures on Instagram and tag me @quiltdoodledesigns use the hashtag quiltdoodledesignsqal If you still want to join in on the fun, the pattern can be purchased HERE.  You only have a little catching up to do. We work on the next section on May 12th. So mark your calendars!


Happy Quilting,
Cindy and Belvedere

Saturday, January 6, 2018

Minnesota Winter Wonderland Quilt Along!!!

Minnesota Winter Wonderland QAL!

 
I thought it would be fun to do a little QAL this year. Don't get it confused with the BOM I'm doing. That's a whole other quilt. You can follow along with both and have two quilts done by the end of the year! When deciding what quilt to use for a QAL, Minnesota Winter Wonderland came to mind first. It's one of my favorite winter themed quilts. Many of you know, I live in Minnesota and it's winter here nine months out of the year, and Belvedere and I have decided to hibernate this winter and just hang out together in the studio as I sew. I also know that many of you are experiencing colder than usual weather too! Even in Florida!  So the first section we are going to do is a row of 'Chilly Silly Snowmen' which is the January section of the Minnesota Winter Wonderland pattern..... These snowmen are so stinkin cute, and easy to sew together. Everything is based on 2 1/2" squares and strips. The snowman noses are appliqued, but don't worry, if you are a beginner to applique, you can do these. The complete pattern can be found Etsy and also on Quilt Doodle Website. It's available as a PDF instant download and also as a packaged pattern. It's written so it can be done as a BOM. So it'll be easy to follow along month to month. So lets get started.... You will need the following fabric colors... blue (I'm using a darker blue fabric), cream/white, and orange (for the snowman noses). You will also need some Heat n Bond and brown or black thread for machine applique. I like to use dark brown.
Many of you have wondered what fabrics.... here's what I pulled
from my fabric stash. Notice most of it is tone on tone. You can have a lot of fun with this quilt and experiment with many shades of blue and make it very scrappy. I've seen this quilt done scrappy and it turns out super cute!!!

Following the pattern directions, I cut 2 1/2" squares
and 2 1/2" x 10 1/2" strips.

Layer a cream/white 2 1/2" square and a blue 2 1/2" square
right sides together and sew corner to corner. Repeat until you have
7 sets of 4.

Trim the excess leaving a 1/4" seam...

Iron, seam to the dark side....

Lay out your squares to form the snowman block.

Sew block together using a scant 1/4" seam.

Here is a snowman block next to the 2 1/2" x 10 1/2" strip...
Sew a strip to each section..

Sew the sections together making sure the long snowman
strip begins and ends with a 2 1/2" x 10 1/2" strip.

Trace 7 snowman noses onto the heat n bond and then
iron onto the wrong side of the orange fabric.
Cut the noses out

Your snowman noses can go all the same way...

Or willy nilly ~ every direction... iron them on.

I applique around the nose using my machines button hole stitch
using brown thread.
 Snowman eyes.... hmmmmm...
you can sew on buttons, beads or embroider them using french knots.
It's up to you and what you prefer to do.

I think I'm going to use buttons...


Chilly Silly Snowmen ~ January's Block

 If you blog about it this QAL, please email me a link so that I can attach it to the Pinterest Board I have going for the Minnesota Winter Wonderland QAL. I hope you have fun with this section of the quilt. It can easily be done in a weekend. I'm looking forward to seeing everyone's snowmen! We will work on the next section of the quilt on February 10th. Hope that you join in on the fun!!!

Happy Quilting,
Cindy and Belvedere