September crept up on me yesterday, I had no idea that today was September 1st until I looked at my calendar! I really don't know what happened to summer, it just flew by. Kids will be back to school tomorrow and it really seems like summer break was just yesterday! My mom retired from her school lunchroom job just this year, so this is the first time in 35 years that she doesn't have to get up to go make the cookies for the kids. I know the kids will miss grandma's cookies, she makes them from scratch and the kids know the difference between the homemade ones and frozen ones!
In case you are just starting the BOM, the fabric requirements are below. Everything is based on a 2 1/2" x 2 1/2" square and this month's pattern can be found on my website for free this month. It's not too late to join, I actually pieced this quilt during a retreat and only spent two of the days putting the blocks together. That included lots of breaks for snacks and visiting so I know that you can easily catch up if you are just joining us.
2 yards contrasting color
2 1/2 yards cream background
3/4 yard for the border
1/2-yard binding
Tell your friends! Spread the word! Post the button on your blog!
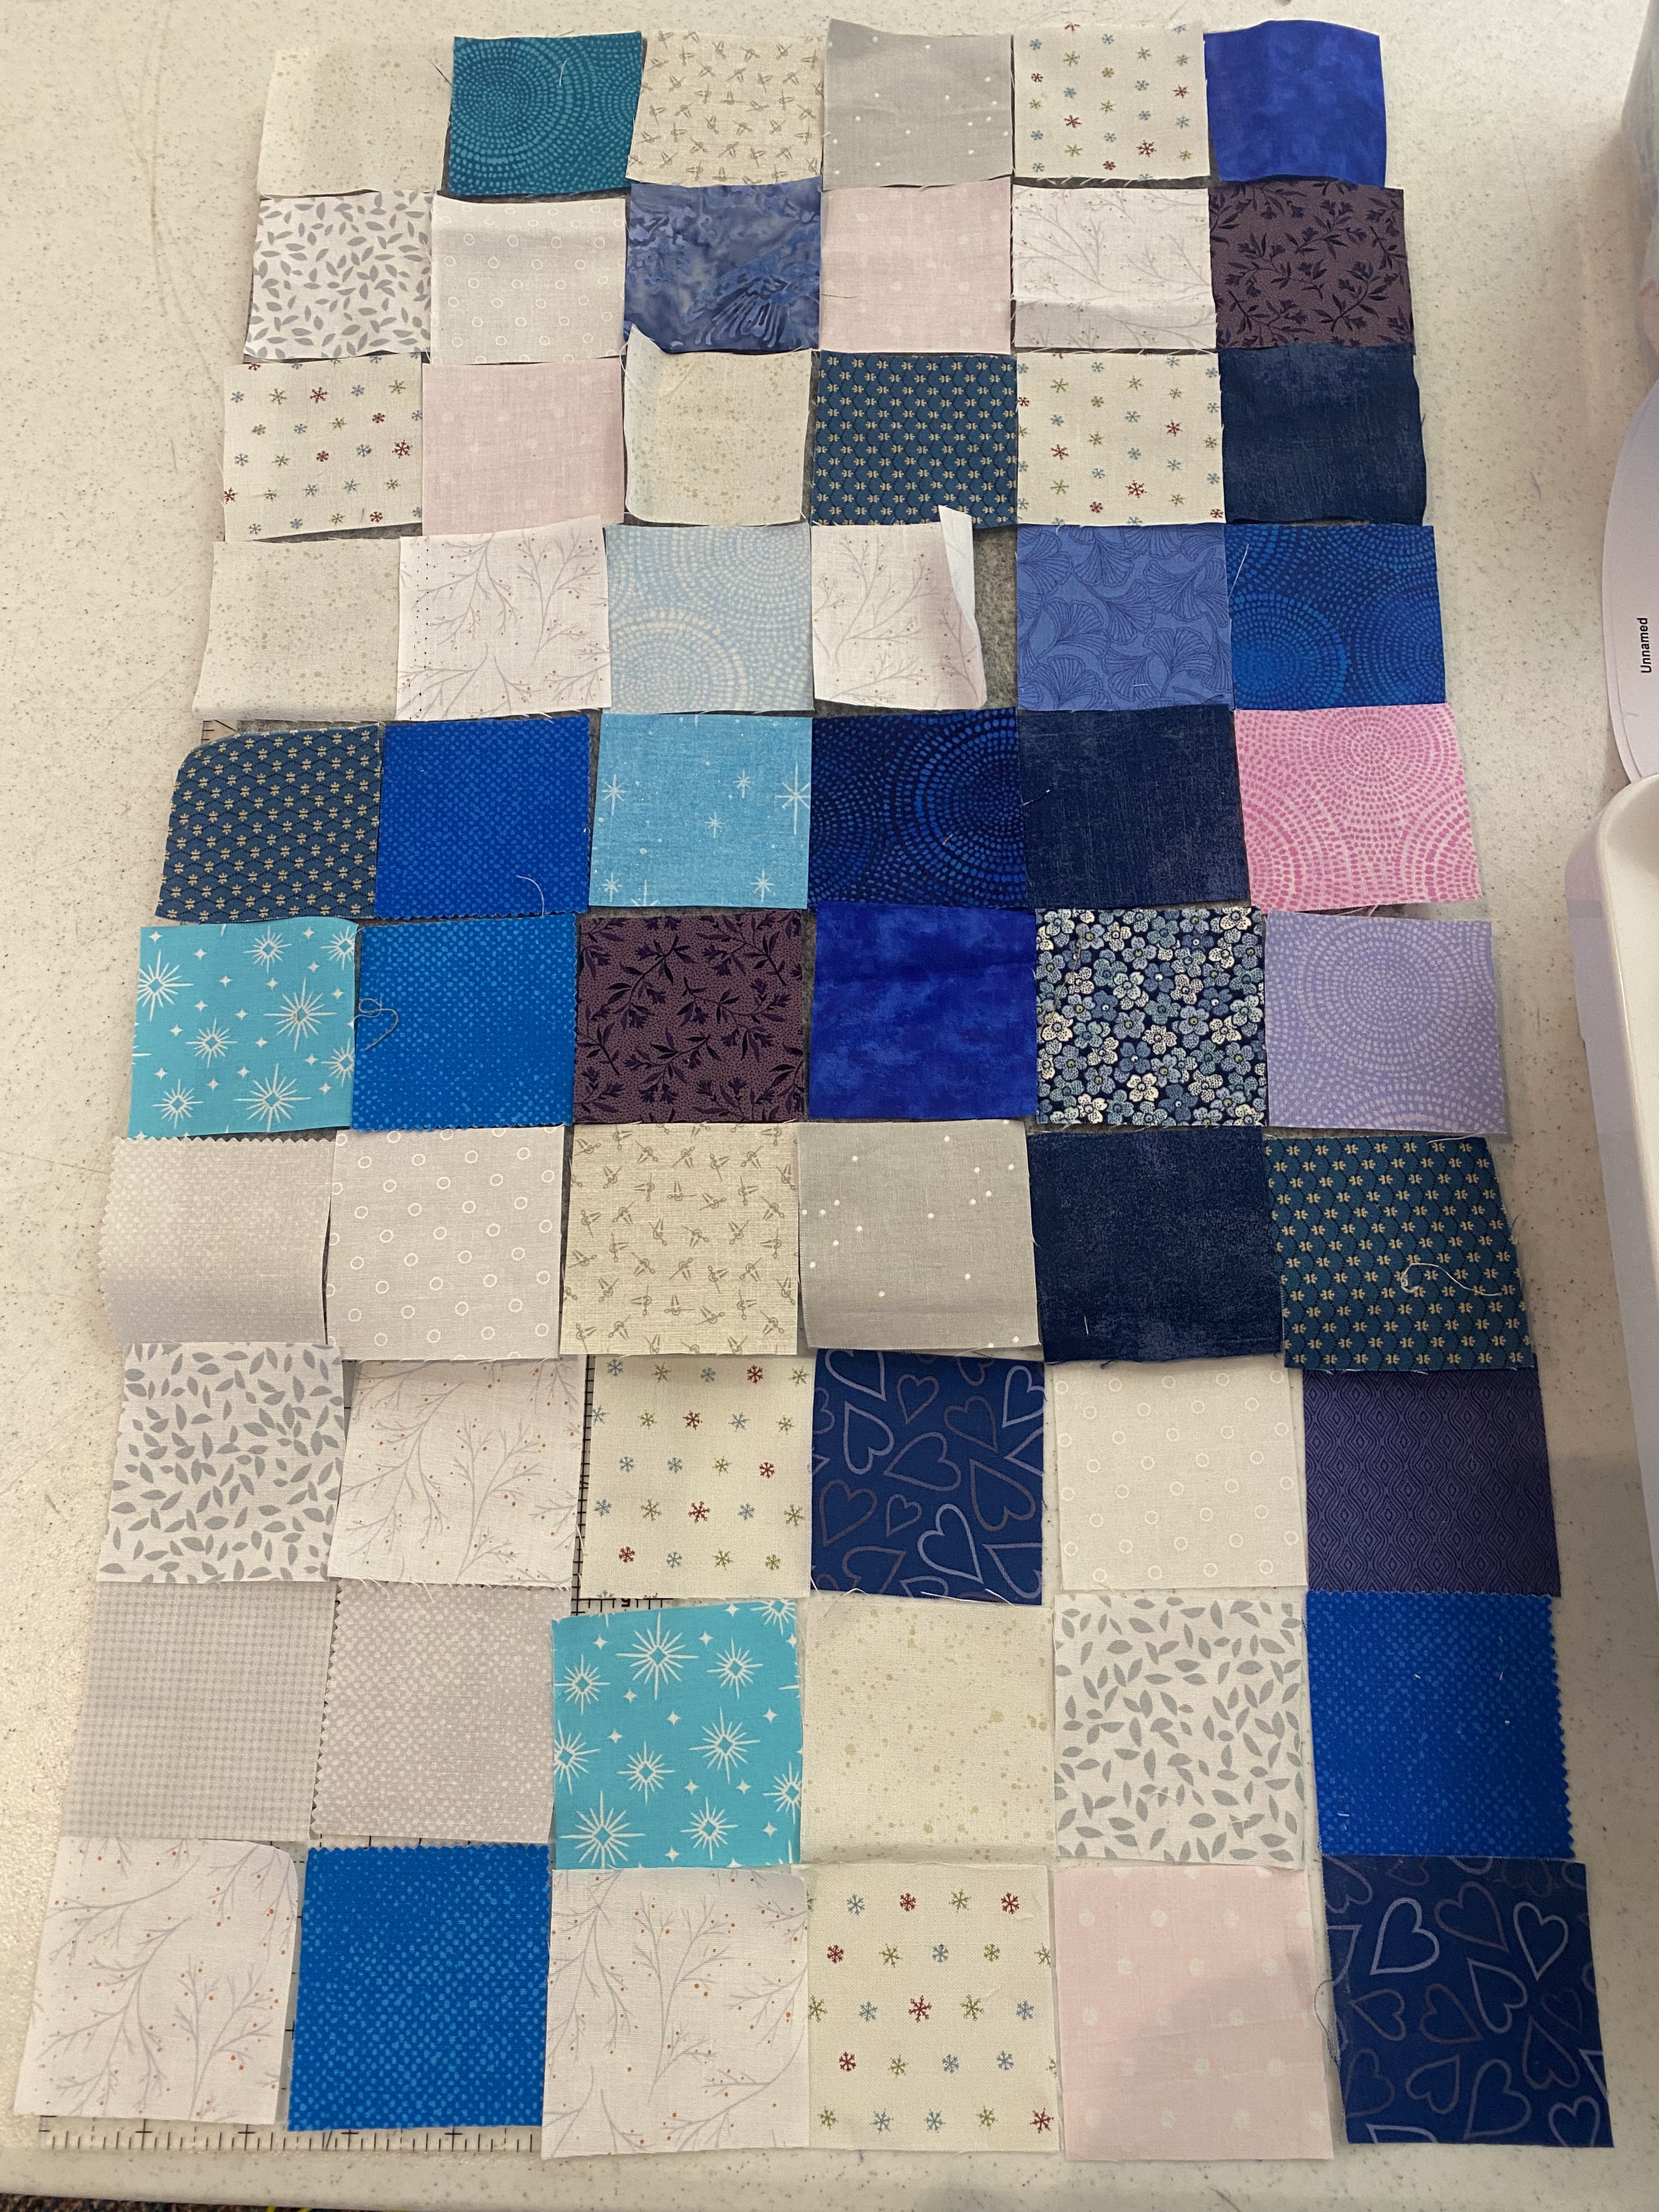
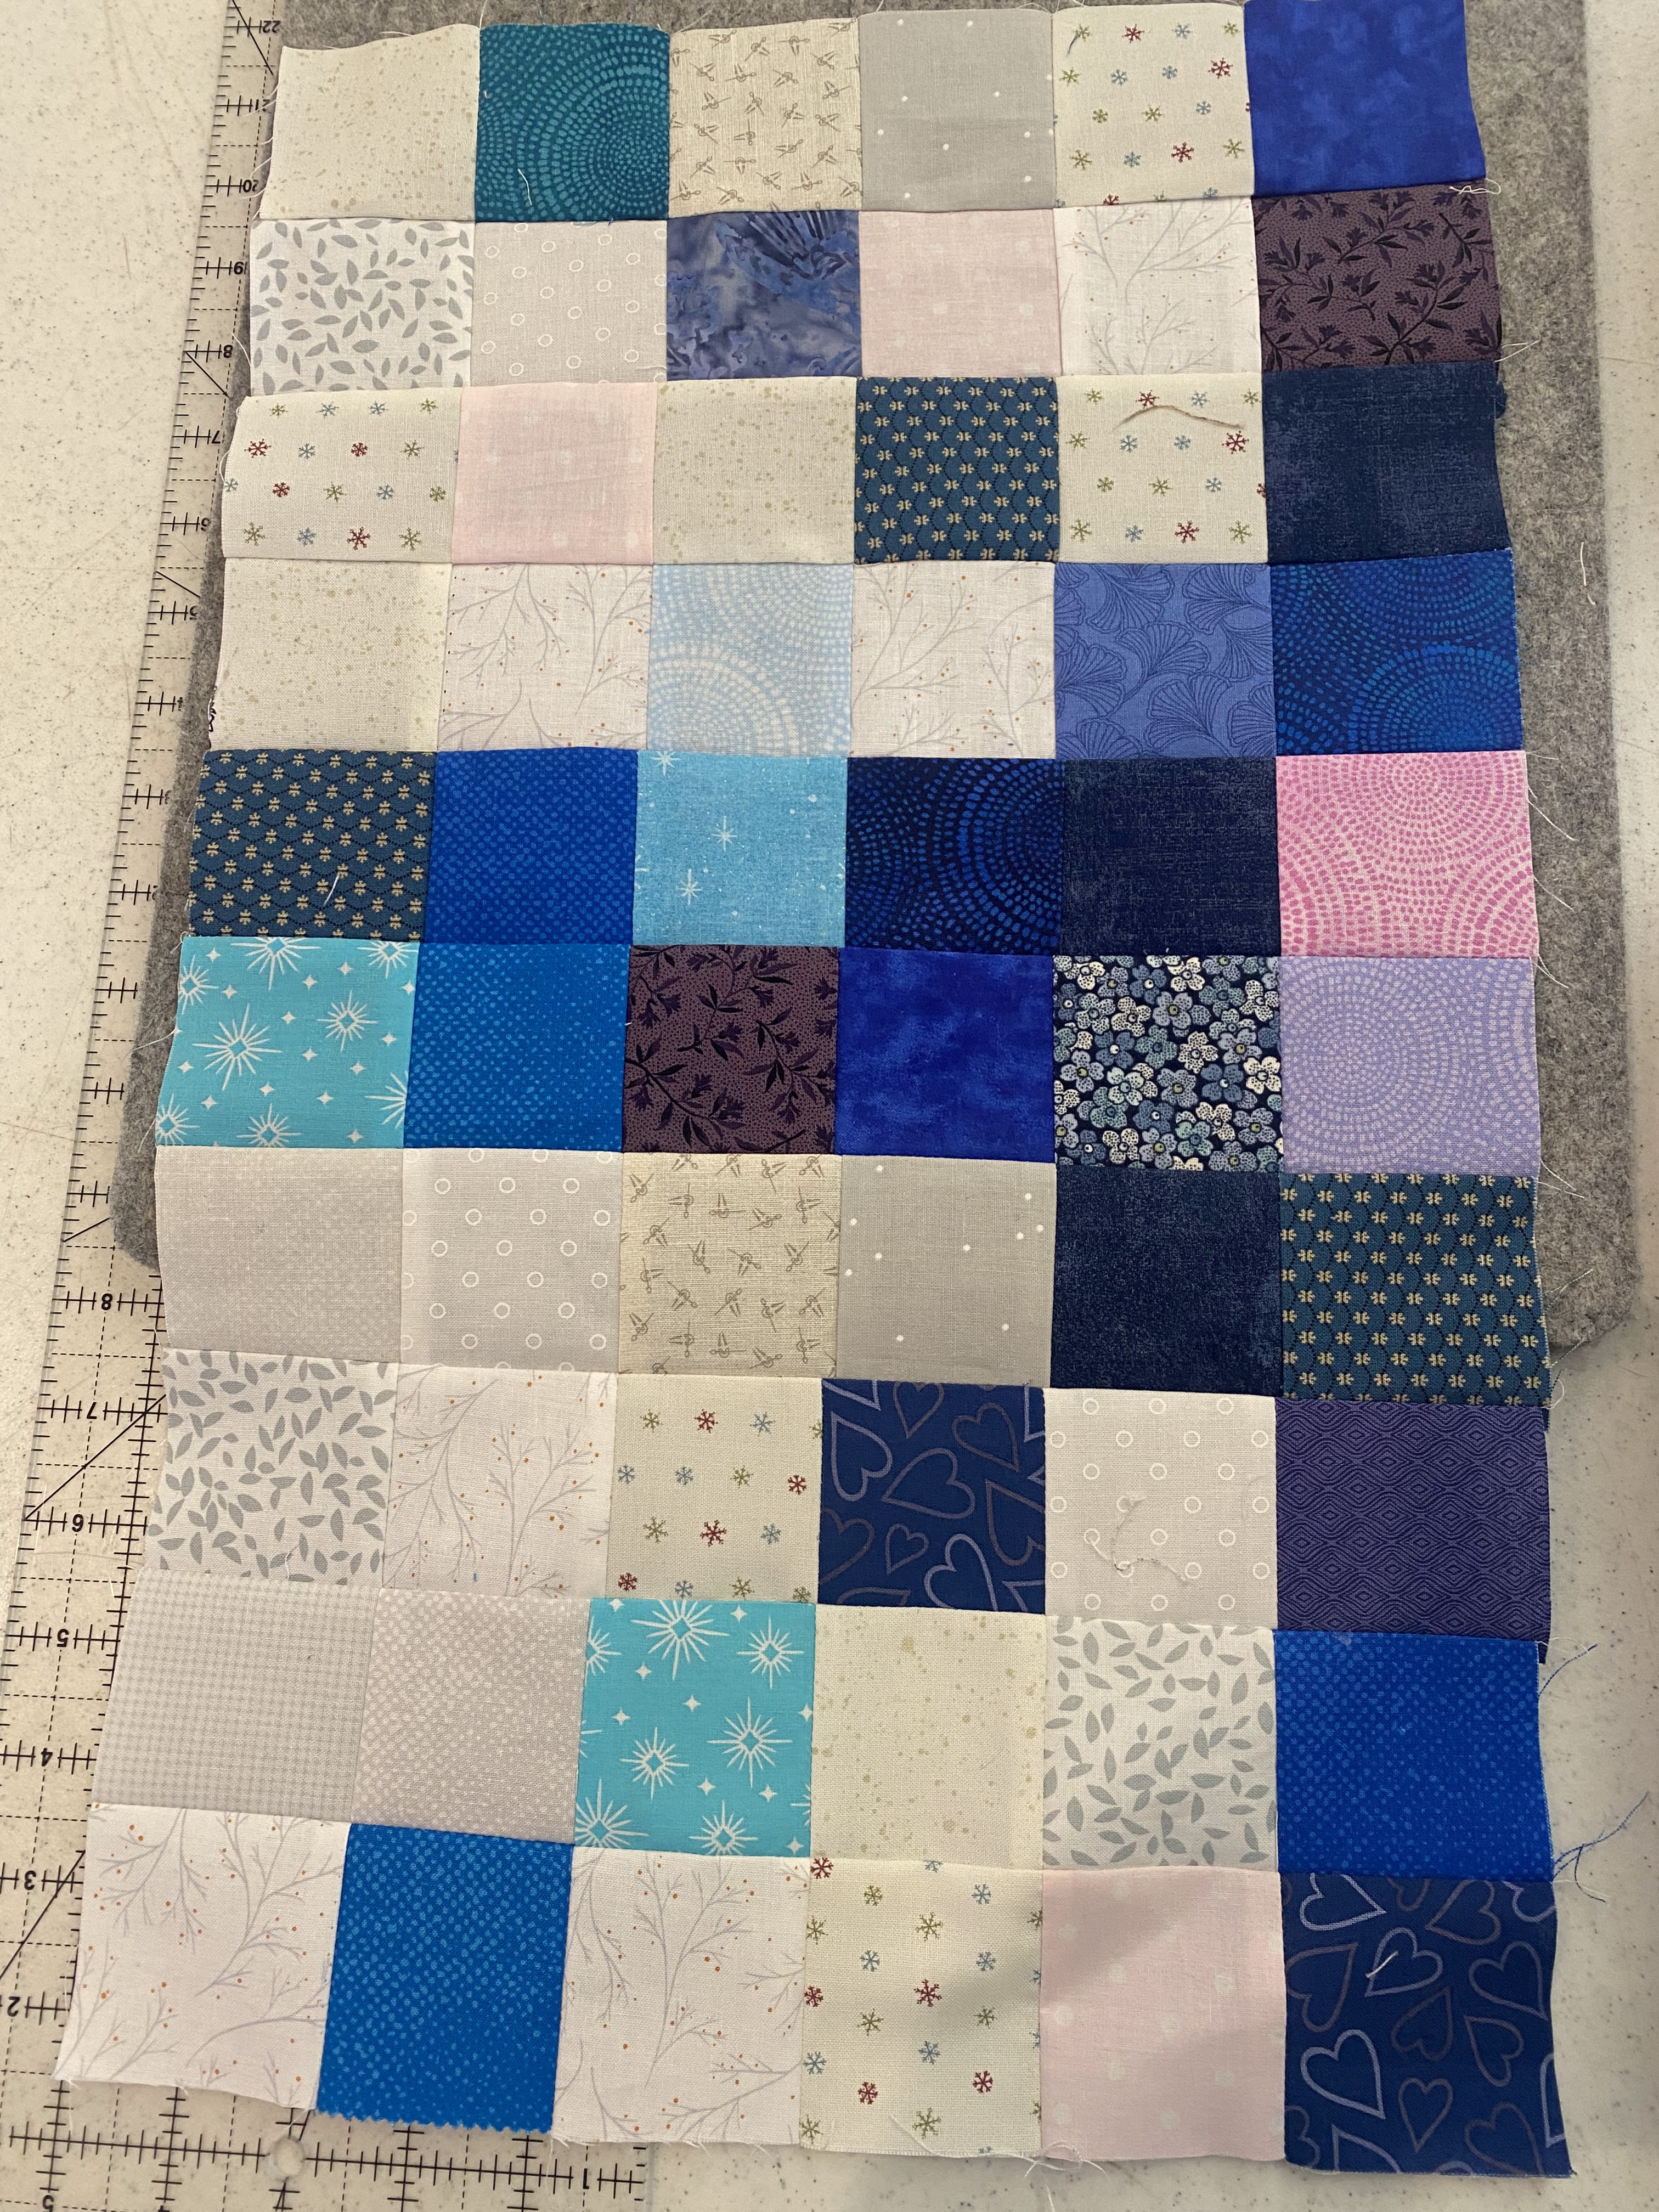
Let me show you how I made this month's block... gather your 2 1/2" squares and following the block layout and sew your squares together using your favorite method making sure to nest your seams so everything lines up nicely. I am encouraging you to use your stash and have fun with it. Just remember the contrast between light and dark. This finished quilt block will measure 12 1/2" x 20 1/2".
 |
| September's Block |
 |
| I have my squares lined up next to my machine to make it easy for me to chain sew my block. |
Each month's pattern is a free PDF instant download. If you miss a month, the patterns are available for $2.00 on my website and also in my Etsy shop.
There's also a Facebook Group, please join and post your progress! It's also fun to see everyone else progress too! Make sure to post your blocks so far!
I hope that you have a wonderful day and find some time to stitch.
Have a wonderful day,
Cindy, Josephine & Bonaparte
 December has snuck up on me! The year has just flown by, so quickly. First let me say thank you for following along and stitching with me this year. It has been a busy year with family events and time spent with my family.


.jpg)


