Happy December! It's hard to believe that the end of the year is almost here! There is so much to do this time of year. I haven't gotten my tree or any of the decorating done yet. Hubby did his part; I came home thanksgiving weekend to a beautifully decorated house all lit up with the Christmas lights. He always waits until after thanksgiving to put up the lights. It's such a treat to come home to see the Christmas lights on. I have to say, I did get the front porch decorated with pine boughs and dogwood once the Christmas wreath arrived. I'm planning on getting the inside of the house done this weekend. I'm going to need some help hoisting the tree boxes upstairs.
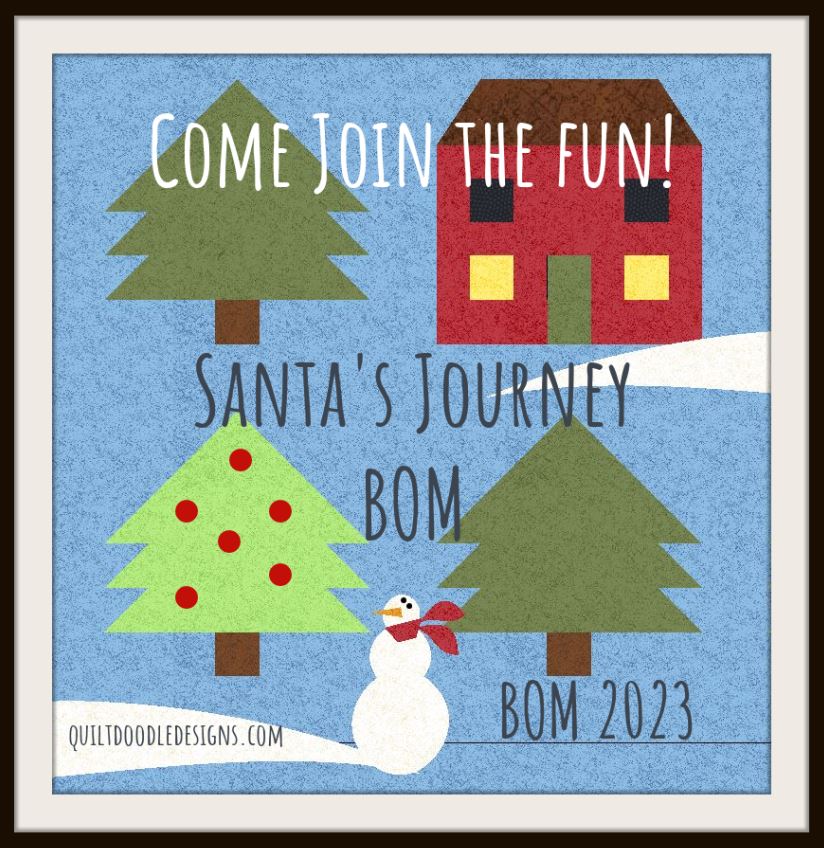
It's also time to wrap up our yearlong project with a big red bow. But first there's some more to do on it. It's going to be a lengthy post so grab a cup of coffee and let's get started. Make sure you head on over to Quiltdoodledesigns.com and download the pattern. It's free the month of December. Gather your fabrics, try to work from your scraps from the previous blocks if you can. I have also added a few fabrics from my fabric stash. Those of you who got the kits may want to do this also.

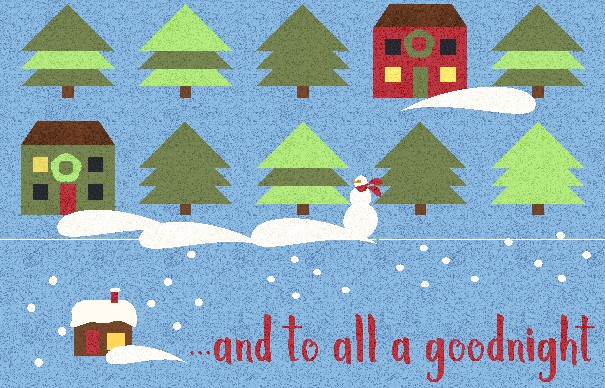
Grab your .... and to all a goodnight section and applique the cozy cottage on it. Trace out one set of the snow-covered cabin shapes onto the paper side of the fusible interfacing. Group shapes that share the same color fabric. Press onto the wrong side of the fabric. Cut out the shapes, peel off the paper backing and place the shapes fusible side down on the right side of the blue background strip, centering the design onto the ... and to all a goodnight panel. Press shapes in place following the fusible manufacturer's directions. Stitch around the raw edges of the applique using either a straight stitch or buttonhole stitch. If you're unsure of your stitch size, practice on some scrap material until you find the setting that you want to use for the machine applique. The snow can be made using white buttons or small yo-yo's. These will be attached after the quilt is quilted.
 |

6- 2 1/2" x WOF strips WOF=width of fabric
Sew 2 of the strips together end to end, press. Then cut 1 - 2 1/2" x 52 1/2" strip
From the remaining blue strips cut:
12 - 2 1/2" x 8 1/2" strips


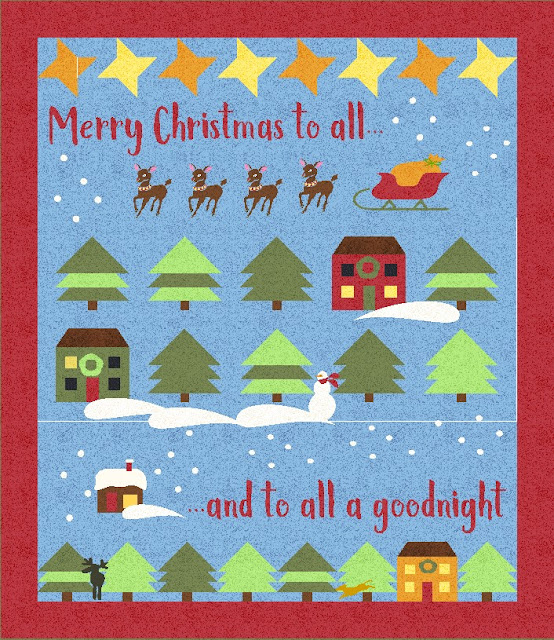

Sew the large 8 1/2" x 8 1/2" tree and green house blocks together with a 2 1/2" x 8 1/2" sashing rectangle in between each block and on each end as shown above. Press. Strip will measure 8 1/2" x 52 1/2".

Sew the large 8 1/2 x 8 1/2" tree and red house blocks together with a 2 1/2" x 8 1/2" sashing rectangle in between each block and on each end as shown above. Press. Strip will measure 8 1/2" x 52 1/2"

Then sew the house sections together with the 2 1/2" x 52 1/2" strip in between and then sew this section to the .... and to all a goodnight section as shown above. This is then a great time to do some more embellishment if you want to. Add the snowman and snowdrift applique pieces as shown. Remember the falling snow won't be added until the quilting is complete.

Then sew the stars strip and the Merry Christmas to all section together, press and then add it to the top of the house section. Press again. Then it's time to add a cheery red border and layer your quilt with batting and backing and quilt as desired.
When you are completed with the quilting then it's time to embellish your quilt with snowflakes using either buttons or white fabric yo-yo's. Embroider a face onto your snowman, eyes and jingle bells to your reindeer and Santa's eyes. Have fun embellishing! Those added touches add to the quilt.
I'm still quilting my Santa's Journey quilt and I'll do a big reveal in a week or two. I'm planning on using my quilt as a wall hanging to adorn my dining room. It'll be so much fun to put on display.
Finished measurements of the 2023 BOM quilt will be 60" x 70"
Each month's pattern is a free PDF instant download. If you miss a month, the patterns are available for $2.50 on my website and also in my Etsy shop.
There's also a Facebook Group, please join and post your progress! It's also fun to see everyone else progress too! Make sure to post your blocks so far! I've had to change postings to be approved since I'm getting lots of spam posted on the Facebook page.
I have also been posting time lapse videos on my Instagram feed on how to stitch the blocks together. @quiltdoodledesigns. I hope that you all have a wonderful day and find some time to do some stitching! I'm looking forward to seeing your quilt too! Remember to post pictures and tag me!
There will also be a new BOM starting January 1st.... stayed tuned for the details.
Happy quilting,
Cindy and Josephine

Now if we could just invent a clock with 100 hours in the day. I didn't get this started (sorry) but have the fabric and can't wait to get started. Where did the year go? Thanks so much for all the great patterns and tips and hugs to Josephine!
ReplyDeleteThank You Sew Much!!! It is Darling!!
ReplyDelete